
Minidump files are small memory dump files that store crucial information about system crashes, application failures, or blue screen errors. When a system crashes, the operating system generates a minidump file containing details like error codes, system state, and loaded drivers at the time of the failure. These files help developers, IT professionals, and users analyze the cause of a crash and troubleshoot issues efficiently.
Minidump files are significantly smaller than full memory dumps, they are easier to store and share. They are commonly used for debugging Windows blue screen errors, Linux core dumps, and macOS crash reports. Understanding where these files are stored is essential for effective system diagnostics and issue resolution.
What Are Minidump Files?
Definition of Minidump Files
Minidump files are small memory dump files that store critical information about system crashes, application failures, or blue screen errors. They contain essential details like error codes, system state, running processes, and loaded drivers at the time of failure. These files are primarily used for debugging purposes, helping developers and IT professionals diagnose issues efficiently.
How Minidump Files Are Generated
Minidump files are automatically created by the operating system when a critical error occurs. The process varies depending on the OS:
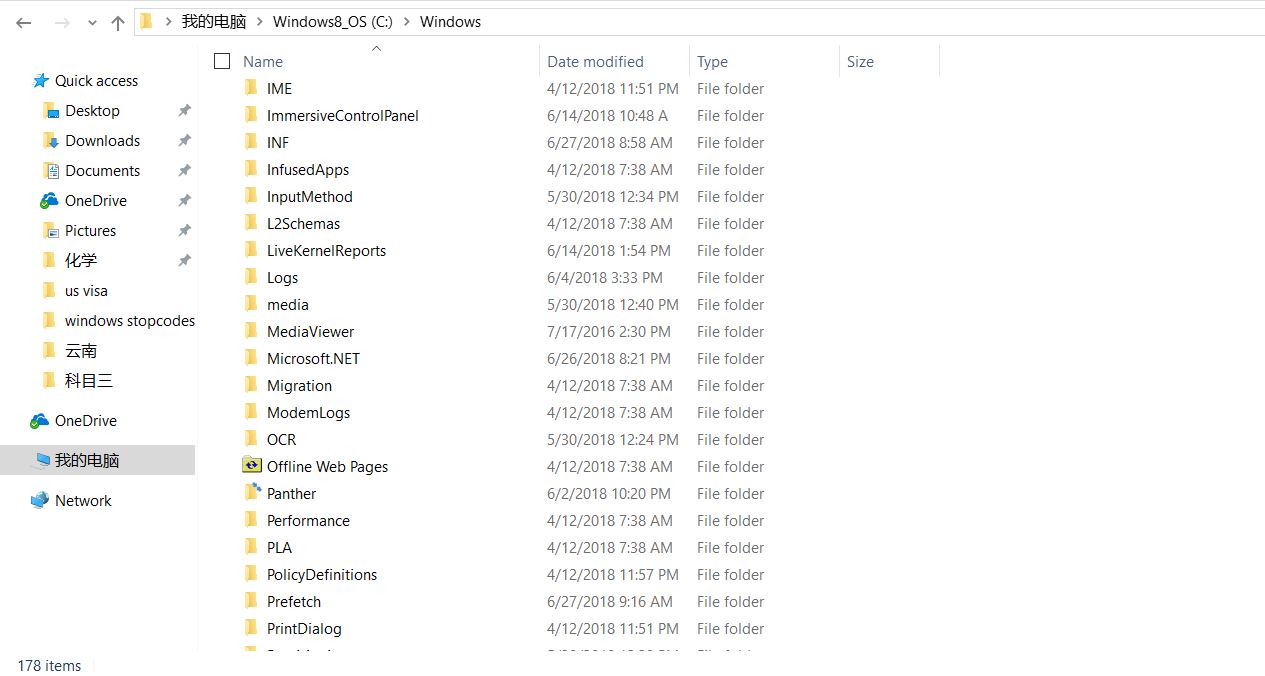
- Windows: When a system crashes, Windows creates a .dmp file in the C:\Windows\Minidump\ folder (if enabled in system settings).
- Linux: The system generates core dump files in /var/crash/ or /tmp/ when an application or kernel crash happens.
- macOS: Crash logs are stored in /Library/Logs/DiagnosticReports/ or ~/Library/Logs/DiagnosticReports/.
Types of Minidump Files
There are different types of minidump and memory dump files, depending on the level of detail captured:
- Small Memory Dump (Minidump) (256 KB): Contains basic crash details, useful for quick diagnostics.
- Kernel Memory Dump: Captures kernel-mode memory at the time of a crash, helpful for analyzing driver-related issues.
- Complete Memory Dump: Includes the entire system memory, offering in-depth debugging data.
- Automatic Memory Dump: A system-managed memory dump that adjusts based on available space.
- Active Memory Dump: Captures only active memory used by Windows, reducing file size while maintaining relevant information.
Default Storage Location of Minidump Files
Minidump files are stored in different locations depending on the operating system. These locations are crucial for accessing crash reports and diagnosing system issues. Below are the default storage paths for Windows, Linux, and macOS.
Windows
Windows generates minidump files when the system encounters a critical error, such as a blue screen crash.
Default Path for Minidump Files
- Location: C:\Windows\Minidump\
- Description: This folder stores small memory dump (.dmp) files, which contain essential crash details for quick debugging.
Full Memory Dump Location
- Location: C:\Windows\Memory.dmp
- Description: This file contains a complete memory dump of the system at the time of the crash. It is larger than a minidump and provides more detailed diagnostic data.
Linux
On Linux, crash dumps are handled differently based on system configurations and settings.
Common Storage Locations
- /var/crash/: The default location for system and application crash dumps, especially in Ubuntu-based distributions.
- /tmp/: Some Linux distributions store crash dumps in the temporary directory, which may be cleared upon reboot.
Configuration Considerations
- Some Linux systems use apport (Ubuntu) or kdump (Red Hat) to manage and store crash reports.
- The storage path may vary based on system settings defined in /etc/systemd/coredump.conf.
macOS
Mac computers automatically generate crash reports when an application or system process fails.
Default Minidump Storage Paths
- System-wide crash reports: /Library/Logs/DiagnosticReports/
- User-specific crash reports: ~/Library/Logs/DiagnosticReports/ (located inside the user’s home directory)
How to Access Crash Reports on macOS
- Open Console.app (Applications > Utilities > Console) to view crash reports.
- Navigate to the specified folders using Finder or the Terminal (cd /Library/Logs/DiagnosticReports/).
How to Access Minidump Files?
Minidump files contain critical debugging information and can be accessed using different methods depending on the operating system. Below are the steps to locate and open these files on Windows, Linux, and macOS.
Using Windows File Explorer
Windows users can manually navigate to the minidump folder using File Explorer.
Steps to Access Minidump Files:
- Open File Explorer (Press Win + E).
- Navigate to C:\Windows\Minidump.
- If the folder does not exist, ensure that minidump file creation is enabled in system settings.
- Double-click a .dmp file to open it (requires debugging tools like WinDbg).
For Full Memory Dumps:
- Navigate to C:\Windows\Memory.dmp for complete system crash dumps.
- This file requires Windows Debugging Tools to analyze.
Using Command Prompt or PowerShell
For users who prefer command-line access, both Command Prompt and PowerShell can be used.
Command Prompt Method:
- Open Command Prompt (Win + R, type cmd, and press Enter).
- Type the following command and press Enter:
dir C:\Windows\Minidump\- This will list all minidump files stored in the folder.
PowerShell Method:
- Open PowerShell (Win + X, then select Windows PowerShell).
- Run the following command to list dump files
Get-ChildItem C:\Windows\Minidump\Viewing Minidump Files on Linux and macOS
Linux and macOS store crash dump files in different locations.
On Linux:
- Open a Terminal (Ctrl + Alt + T).
- Navigate to the crash dump directory:
cd /var/crash/Or check the /tmp/ directory:
cd /tmp/List available crash dump files using:
ls -lhOn macOS:
- Open Finder and go to /Library/Logs/DiagnosticReports/ for system-wide logs.
- For user-specific logs, open Terminal and navigate to:
cd ~/Library/Logs/DiagnosticReports/Use ls to list crash reports:
ls -lhAlternative Method:
Open Console.app (Applications > Utilities > Console) to view crash reports interactively.
How to Enable or Configure Minidump File Storage
Enable Minidump Files in Windows
- Open System Properties: Press Win + R, type sysdm.cpl, and hit Enter.
- Go to Advanced Settings: Under Startup and Recovery, click Settings.
- Set Minidump Location: Choose Small memory dump (256 KB) and ensure the path is %SystemRoot%\Minidump.
- Enable via Registry (Optional): Modify HKEY_LOCAL_MACHINE\SYSTEM\CurrentControlSet\Control\CrashControl.
- Restart the Computer to apply changes.
Enable Crash Dumps in Linux
- Check Core Dumps: Run ulimit -c (if 0, dumps are disabled).
- Enable Core Dumps: Edit /etc/security/limits.conf, adding:
* soft core unlimited
* hard core unlimited- Set Dump Location: Run sudo sysctl -w kernel.core_pattern=/var/crash/core.%e.%p.
- Enable kdump (for Kernel Dumps): Install and start kdump (sudo apt install kdump-tools).
Enable Crash Reports in macOS
- Locate Reports: Open Console.app or check:
- System logs: /Library/Logs/DiagnosticReports/
- User logs: ~/Library/Logs/DiagnosticReports/
- Ensure Logging is Enabled: Go to System Settings > Privacy & Security > Analytics & Improvements.
Tools to Analyze Minidump Files
Windows Debugging Tools
- WinDbg: Microsoft’s advanced debugger (!analyze -v for crash analysis).
- BlueScreenView: Simple tool that displays crash details in a user-friendly format.
- WhoCrashed: Identifies faulty drivers causing system crashes.
Linux Debugging Tools
- GDB: Debugs application crashes (gdb /path/to/executable /var/crash/core.XXXX).
- Crash: Analyzes Linux kernel dumps (crash /usr/lib/debug/vmlinux /var/crash/dumpfile).
- Kdump: Captures kernel crashes (sudo systemctl enable kdump).
macOS Debugging Tools
- Console.app: View crash reports under Crash Reports in Utilities > Console.
- LLDB: Debugging tool for analyzing dumps (lldb -c /path/to/crash.dmp).
- atos: Converts memory addresses to readable symbols (atos -o /path/to/executable -arch x86_64 0xaddress).
Troubleshooting Issues with Minidump Files
What to Do If Minidump Files Are Missing
- Enable Minidumps: sysdm.cpl → Advanced > Startup and Recovery > Settings → Select Small memory dump.
- Prevent Auto-Deletion: Run fsutil behavior set DisableDeleteNotify 1.
- Check Page File: Ensure Automatically manage paging file size is enabled in Virtual Memory Settings.
Permissions and Access Issues
- Run as Administrator: Open Command Prompt and navigate to C:\Windows\Minidump.
- Modify Folder Permissions: Right-click Minidump, go to Properties > Security, and grant Full Control to your user.
Increasing the Size of Memory Dumps
- Windows: sysdm.cpl → Startup and Recovery > Settings → Select Kernel or Complete memory dump.
- Linux: Edit /etc/systemd/coredump.conf and increase ProcessSizeMax.
- macOS: Enable full crash reports via System Settings > Privacy & Security > Analytics & Improvements.
Conclusion
Minidump files play a crucial role in diagnosing system crashes and application failures across Windows, Linux, and macOS. They store essential debugging information that helps identify the root cause of errors, making them invaluable for troubleshooting. Understanding where these files are stored, how to access them, and the tools available for analysis can significantly improve the debugging process. Additionally, configuring system settings correctly ensures that minidump files are generated when needed.
Troubleshooting minidump-related issues, such as missing files, permission errors, or insufficient dump sizes, is essential for effective crash analysis. By using the right tools and configurations, users can efficiently analyze and resolve system crashes, leading to better system stability and performance.