
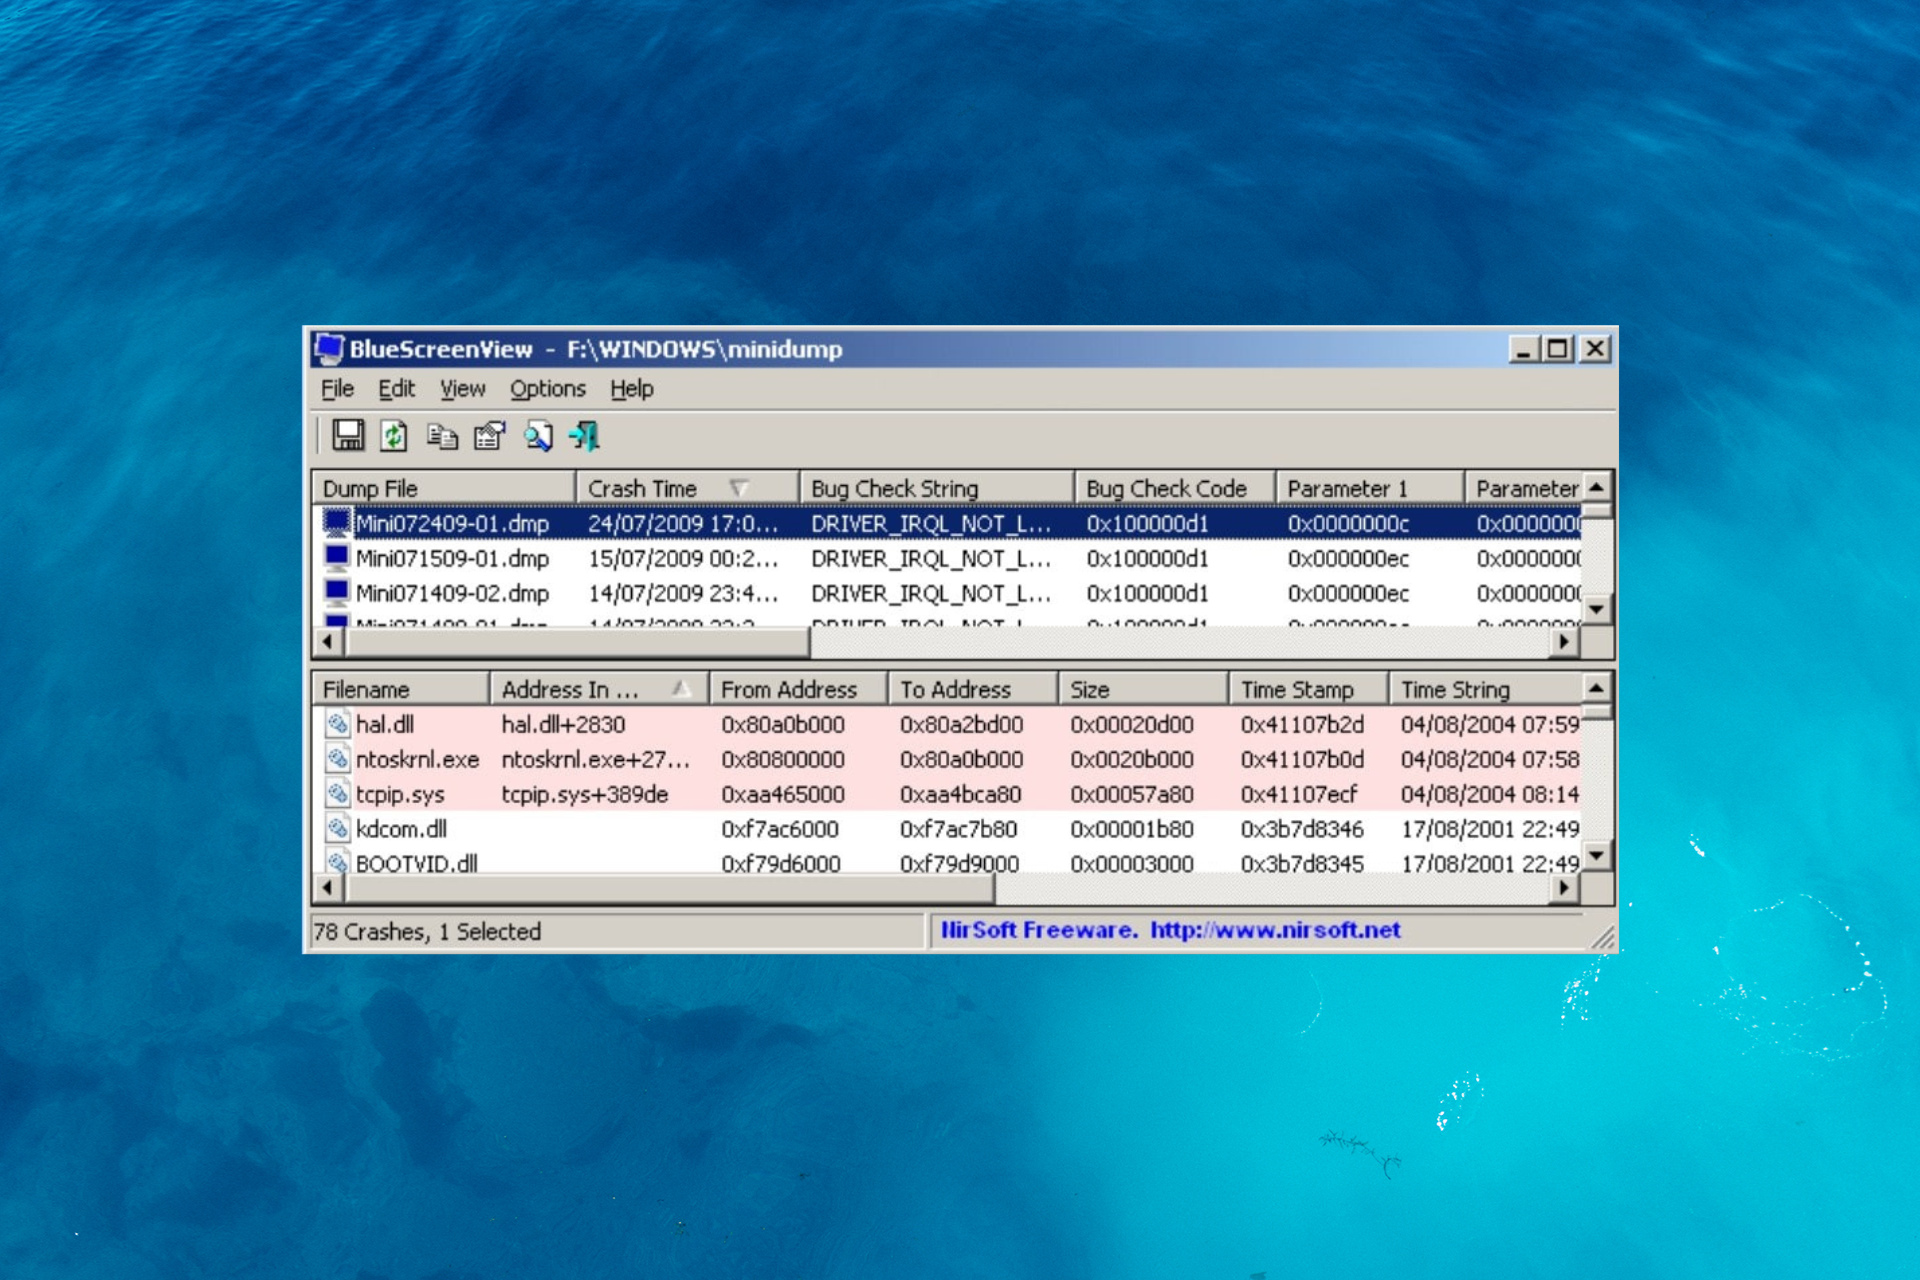
BlueScreenView is a useful tool designed to analyze crash dump files created when Windows encounters a Blue Screen of Death (BSOD) error. It helps users identify the cause of system crashes by displaying detailed information about the error, including the faulty driver or module responsible. However, some users may experience an issue where BlueScreenView does not display any minidump files, making it difficult to diagnose system crashes.
This issue can be frustrating, especially for those trying to troubleshoot frequent system crashes. The absence of minidump files can be caused by various factors, such as incorrect system settings, disk space limitations, or software conflicts. Understanding the reasons behind this problem can help users take the necessary steps to resolve it effectively.
Possible Reasons for Missing Minidump Files
When BlueScreenView fails to display any minidump files, several underlying issues could be responsible. Below are the most common reasons and how to address them.
System Settings Not Configured to Create Minidumps
Windows must be properly configured to generate and store minidump files when a crash occurs. If these settings are incorrect, the system will not save crash dumps, preventing BlueScreenView from displaying them.
Windows Crash Dump Settings May Not Be Enabled
By default, Windows should create minidump files when a system crash occurs. However, in some cases, these settings might be disabled due to system updates, user modifications, or third-party software interference. Without the correct configuration, Windows will fail to generate and store crash dumps, leaving the C:\Windows\Minidump folder empty.
Steps to Check and Enable Minidump File Creation
To ensure Windows is set up to create minidump files, follow these steps:
Step 1: Open System Properties
- Press Win + R, type sysdm.cpl, and press Enter.
- Navigate to the Advanced tab.
Step 2: Configure Startup and Recovery Settings
- Under Startup and Recovery, click Settings.
- In the Write debugging information section, ensure Small memory dump (256 KB) is selected.
- Confirm that the Dump file location is set to:
%SystemRoot%\MinidumpStep 3: Apply and Restart
- Click OK to save the changes.
- Restart your computer to apply the new settings.
Minidump Location Changed or Deleted
Minidump files are stored in a default directory, but if they are missing, BlueScreenView will be unable to display crash reports. This can happen if the dump file location has been modified or if system maintenance tools have deleted them.
Default Minidump Location May Be Empty
By default, Windows saves minidump files in the following directory:
C:\Windows\MinidumpIf this folder is empty, it could indicate that Windows is either not generating crash dumps or storing them elsewhere. Some users might have unintentionally changed the dump file location, or a system update may have altered the settings. To verify the correct path:
- Open File Explorer and navigate to C:\Windows\Minidump.
- If the folder is missing, try manually creating it.
- Check the dump file location in System Properties → Startup and Recovery Settings to ensure it matches the default path.
System Cleanup Tools or Updates May Have Deleted Files
Many system optimization tools, such as CCleaner, Disk Cleanup, or third-party antivirus programs, automatically remove crash dump files to free up disk space. Windows updates may also clear these files during system maintenance.
To prevent automatic deletion:
Disable automatic cleanup in tools like CCleaner by unchecking “Memory Dumps” in the settings.
Exclude the Minidump folder from antivirus scans to avoid unintended deletions.
Check Windows Storage Sense settings by going to Settings → System → Storage, and ensure that memory dumps are not set for automatic deletion.
Insufficient Disk Space
Windows May Not Save Dumps if There Is Low Disk SpaceWindows requires free disk space to create minidump files. If the C: drive is nearly full, Windows may skip dump file creation to prioritize system performance. To check space, open File Explorer → This PC and verify available storage.
Freeing Up Space to Allow Minidump Creation
- Use Disk Cleanup (cleanmgr) to delete temporary and unnecessary files.
- Uninstall unused apps via Settings → Apps.
- Move/delete large files from Downloads or Documents.
- Check virtual memory settings (sysdm.cpl → Performance → Virtual Memory).
Corrupted or Incomplete Dumps
Power Loss or Improper Shutdown Can Prevent Dump Creation
Unexpected shutdowns (e.g., power loss, forced shutdowns, overheating) can interrupt minidump file creation, leaving them incomplete or missing. To prevent this, use a UPS (Uninterruptible Power Supply) for desktops and avoid forcefully shutting down the system.
Running System Checks to Fix Corrupt Files
- Run SFC Scan: Open Command Prompt (Admin) and enter:
sfc /scannow Check Disk for Errors: Use:
chkdsk C: /f /r - Verify Dump Files: Navigate to C:\Windows\Minidump and check file integrity. Delete corrupted dumps and let Windows generate new ones.
Antivirus or Security Software Interference
Some antivirus and security programs can mistakenly block Windows from creating or accessing minidump files. This interference prevents BlueScreenView from detecting crash dumps, making BSOD troubleshooting more difficult.
Some Security Software May Block Dump File Creation
Certain security tools, especially real-time protection features in antivirus programs, may restrict system processes involved in generating minidump files. This is done to prevent unauthorized access to system memory and sensitive crash data. Common culprits include:
- Third-party antivirus programs (e.g., Norton, McAfee, Bitdefender).
- Windows Defender’s Controlled Folder Access blocking changes to system directories.
- Endpoint security solutions used in enterprise environments.
If security software blocks crash dumps, minidump files may never be saved or may be deleted before analysis.
Temporarily Disabling Security Software to Check
To determine if security software is causing the issue, temporarily disable it and check if minidump files are generated after a crash.
Disable Third-Party Antivirus
- Open your antivirus settings.
- Locate real-time protection or behavior monitoring settings.
- Temporarily turn off protection and restart the system.
Check Windows Defender Settings
- Open Windows Security (Win + S → Search “Windows Security”).
- Go to Virus & Threat Protection → Manage settings.
- Temporarily disable Real-time protection.
- In Ransomware Protection, disable Controlled Folder Access if enabled.
Reproduce a Crash and Check Minidump Files
- After disabling security software, trigger a BSOD (if possible) and check C:\Windows\Minidump.
- If dump files now appear, add exceptions in your security software for the minidump folder.
Troubleshooting Steps
Checking System Settings
- Open System Properties (sysdm.cpl → Advanced → Startup and Recovery Settings).
- Ensure “Small memory dump (256 KB)” is selected.
- Verify the dump file location is set to %SystemRoot%\Minidump.
Verifying Dump File Location
- Check C:\Windows\Minidump and C:\Windows\MEMORY.DMP.
- If missing, manually create the Minidump folder.
Checking Event Viewer Logs
- Open Event Viewer (Win + X → Event Viewer → Windows Logs → System).
- Look for crash-related logs (Event ID 41, 1001, or 6008).
Reproducing a Crash for Testing
- Enable CrashOnCtrlScroll in the Registry (HKEY_LOCAL_MACHINE\SYSTEM\CurrentControlSet\Services\kbdhid\Parameters).
- Restart and press Right Ctrl + Scroll Lock (twice) to trigger a BSOD.
- Check C:\Windows\Minidump for newly generated dump files.
Conclusion
BlueScreenView does not display minidump files, several factors could be responsible, including incorrect system settings, missing or deleted dump files, insufficient disk space, corrupted dumps, or security software interference. By systematically troubleshooting these issues—verifying crash dump settings, checking file locations, freeing up storage, and disabling security restrictions—users can often resolve the problem and ensure proper minidump generation.
Having access to minidump files is crucial for diagnosing system crashes and preventing future BSOD errors. By following the recommended steps, users can restore dump file functionality, allowing BlueScreenView to analyze crash reports effectively and provide insights into system stability and potential hardware or software failures.